


Making rice for rice balls, also known as onigiri, is an art in itself. The delightful and versatile rice balls are a staple in Japanese cuisine, cherished for their simplicity and flavor. Whether you’re preparing a quick snack or a packed lunch, mastering the technique of making rice for onigiri is essential. In this guide, we’ll walk you through the process step-by-step, ensuring your rice balls are perfect every time.
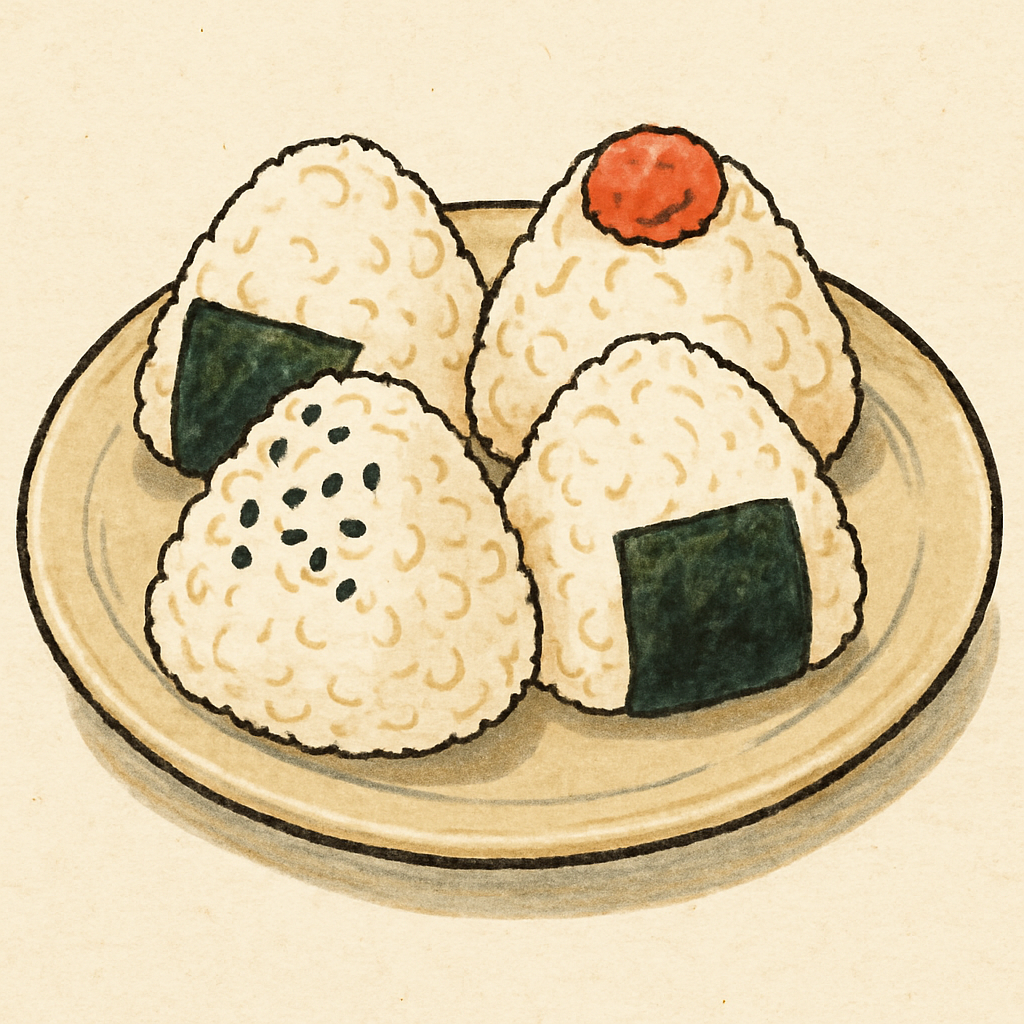
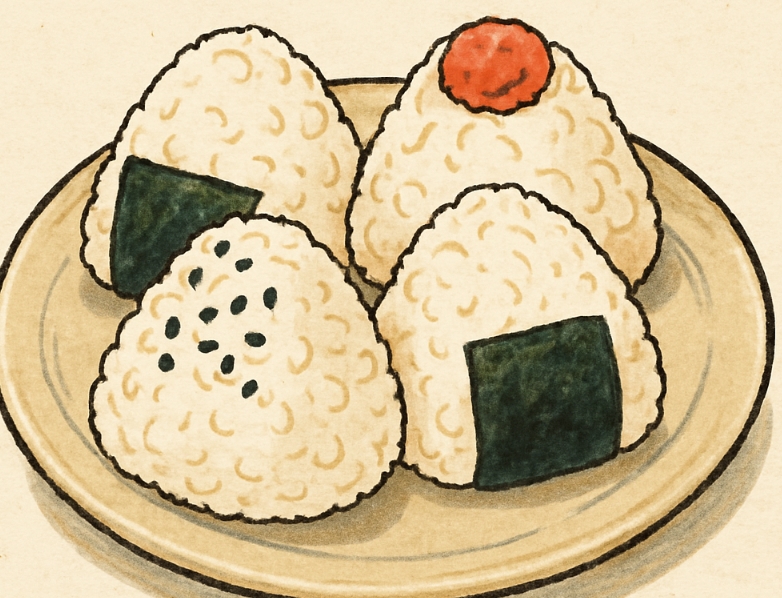
Onigiri, or rice balls, are a traditional Japanese snack made from rice formed into triangular or cylindrical shapes and often wrapped in nori (seaweed). They can be filled with various ingredients like pickled plum, salted salmon, or tuna with mayonnaise. The beauty of onigiri lies in its simplicity, making it a popular choice for bento boxes and picnics.
Choosing the Right Rice
The foundation of a good rice ball starts with selecting the right type of rice. Japanese short-grain rice, often labeled as “sushi rice,” is ideal for onigiri. This type of rice is sticky, allowing it to hold its shape when formed into balls.
Why Japanese Rice?
Japanese rice is known for its unique texture and flavor. It has a slightly sticky quality, which is perfect for molding into shapes. This stickiness is due to the higher starch content compared to other types of rice, such as long-grain varieties. When cooked, it becomes fluffy yet cohesive, making it the best choice for onigiri.
Preparing the Rice
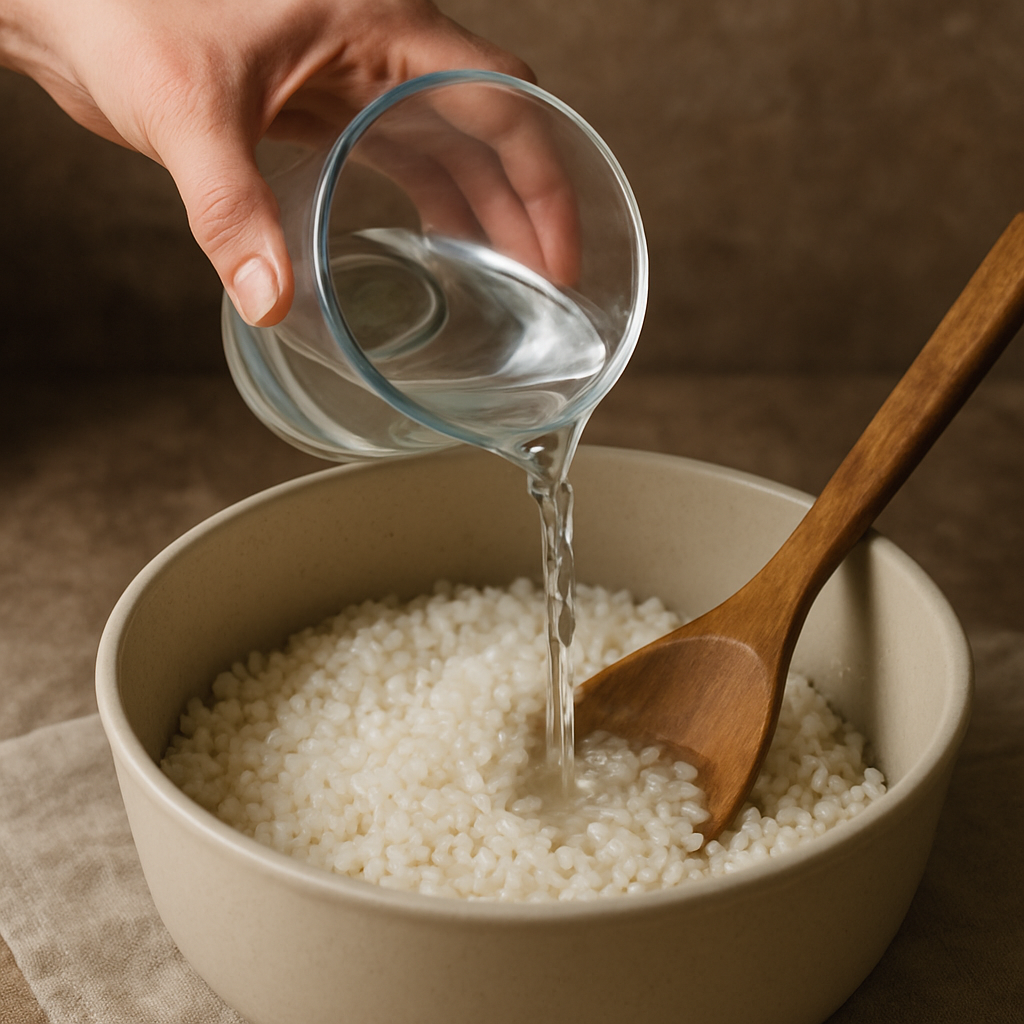
Before cooking the rice, it’s essential to rinse it thoroughly. This step removes excess starch, preventing the rice from becoming too sticky or gummy when cooked.
Rinsing the Rice
- Measure the desired amount of rice and place it in a large bowl.
- Fill the bowl with cold water and gently stir the rice with your hand.
- Drain the water and repeat the rinsing process until the water runs clear. This usually takes about 3-4 rinses.
Cooking the Rice
For perfectly cooked rice, a rice cooker is the most convenient tool. However, you can also use a pot on the stove if a rice cooker isn’t available.
Using a Rice Cooker
- After rinsing, transfer the rice to the rice cooker.
- Add water according to the rice cooker’s instructions. Typically, the ratio is 1:1.2 (rice to water).
- Let the rice soak in water for about 30 minutes before cooking.
- Start the rice cooker and let it work its magic.
Cooking on the Stove
- Place the rinsed rice in a pot and add water using the same 1:1.2 ratio.
- Cover the pot with a lid and bring the water to a boil over medium heat.
- Once boiling, reduce the heat to low and let it simmer for about 15 minutes.
- Turn off the heat and let the rice sit, covered, for an additional 10 minutes.
Seasoning the Rice
While plain rice is delicious, seasoning can elevate your onigiri. A traditional seasoning involves a bit of salt and sometimes a touch of rice vinegar for added flavor.
Adding Flavor
- Salt: Sprinkle a pinch of salt over the cooked rice and gently mix it in.
- Rice Vinegar: For a slight tang, add a teaspoon of rice vinegar. This step is optional but recommended for a subtle flavor boost.
Forming the Rice Balls
by Quan Jing (https://unsplash.com/@greedwolf97)
Now that your rice is cooked and seasoned, it’s time to form the rice balls. Here’s how to do it:
Shaping the Onigiri
- Wet your hands with water to prevent the rice from sticking.
- Sprinkle a bit of salt on your palms for flavor.
- Scoop a portion of rice (about the size of a small handful) into your palm.
- Gently press the rice into your desired shape, whether it’s a triangle, ball, or cylinder.
- If adding fillings, create a small indent in the rice, place the filling inside, and cover it with more rice before shaping.
Wrapping with Nori
For that authentic Japanese touch, wrap your rice balls with nori (seaweed). Cut the nori into strips and wrap them around the rice ball, allowing for easy handling and a delicious flavor.
Storing and Serving Onigiri
Onigiri can be stored at room temperature for a few hours, making them perfect for lunchboxes or snacks on the go. If you’re preparing them in advance, wrap each rice ball in plastic wrap to maintain freshness.
Serving Suggestions
- Enjoy onigiri as a standalone snack or pair them with miso soup for a complete meal.
- For added variety, experiment with different fillings and seasonings.
Conclusion
Making rice for rice balls is a simple yet rewarding process. By choosing the right rice, rinsing it properly, and cooking it with care, you can create delicious onigiri that will delight your taste buds. Whether you’re a fan of traditional Japanese flavors or love to experiment, rice balls offer endless possibilities. Embrace this culinary adventure and enjoy the delightful world of onigiri.


